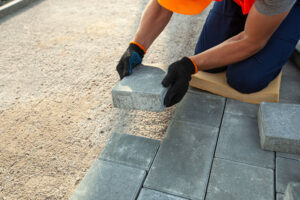
How to Cut Paving Slabs
Cutting paving slabs is a straightforward job when you have the right tools and know what you’re doing. By following this comprehensive guide by Minster


Patios that aren’t looked after quickly cause problems; weeds and moss, slippery algae, stubborn stains, cracked or lifted slabs, trip hazards, and even drainage or frost damage. However, although each type of paving has different needs, the solution is simple: regular cleaning, proper joint care, and selective sealing will stop small issues from becoming larger ones and help your investment last much longer.
In this guide, we’ll discuss how to properly look after your pavers so that they remain looking as good as new. As garden paving specialists, we’ve tried and tested each technique on real projects; these are the practical methods we rely on to keep patios, pathways, and driveways functional and beautiful for years!
Here’s why you’ll benefit from properly maintaining your paving slabs:
Here are some simple patio maintenance tips for keeping your garden paving beautiful and long-lasting:
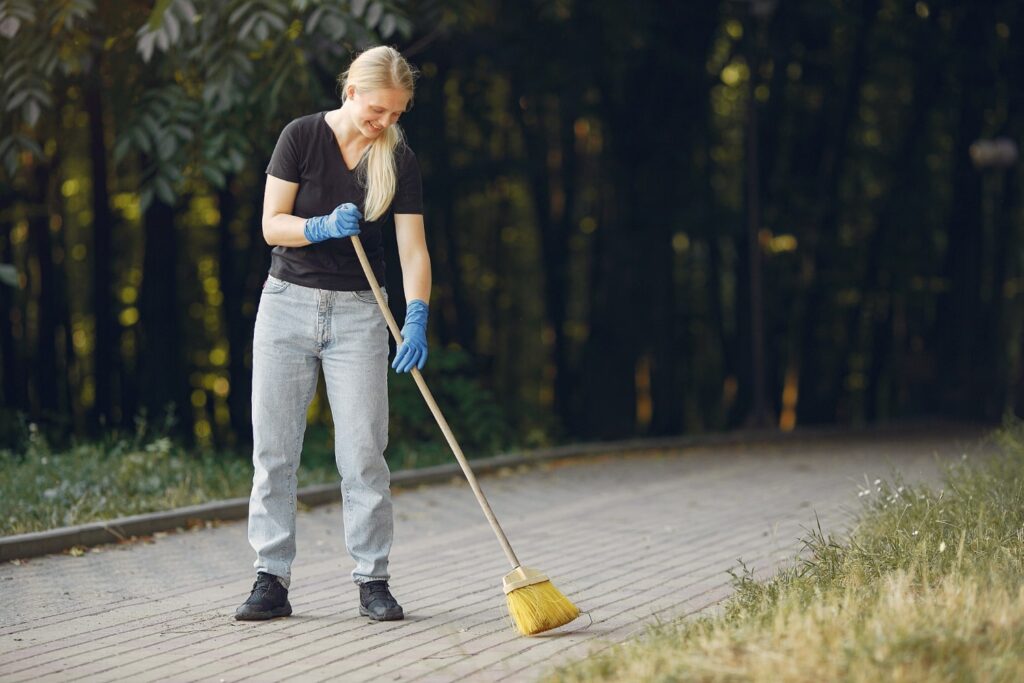
Remove leaves, grit, and loose dirt at least weekly to stop staining, blockages, and weed seeds from taking hold. Use a stiff broom for concrete and a softer brush for more delicate natural stone; a leaf-blower speeds things up but won’t remove stuck-on dirt.
Minster Tip: Work from the highest point down toward drains so debris clears naturally. For delicate stone, use a soft-bristled brush to avoid surface wear.

Each paving material reacts differently to cleaning products, so choosing the right solution is important for avoiding damage and getting the best results:
Minster Tip: Spot-test on an offcut or small area for 24 hours first. Always wet the surrounding soil and plants before using stronger cleaners, and rinse paving thoroughly afterwards.

By using a pressure washer, you can quickly remove built-up dirt, algae, and moss, but incorrect technique can cause joint erosion, surface damage, or even water ingress. Keep the nozzle at a consistent distance (30-45cm), work at a shallow angle, and avoid direct blasting into joints. For softer materials, use a lower pressure setting, or avoid using a pressure washer if possible.
Minster Tip: Scrubbing with a hand brush is more time-intensive, but is often the best option for delicate or damaged paving areas. Working on a small area, scrub carefully to loosen grime and dirt. Wash down with clean water after you’ve finished, directing the soapy water towards a nearby drain.

Weeds and moss can cause paving to shift or become slippery. Regularly inspect joints and edges, removing any growth by hand or with a joint scraper. For larger infestations, use a targeted weed killer that’s safe for your paving material, or use one of the natural remedies outlined in our weed removal guide.
Minster Tip: The best time to remove moss is during dry weather, when it’s brittle and easier to scrape or brush away. Annual weeds tend to germinate in the spring, so you should kill them off before they sprout.
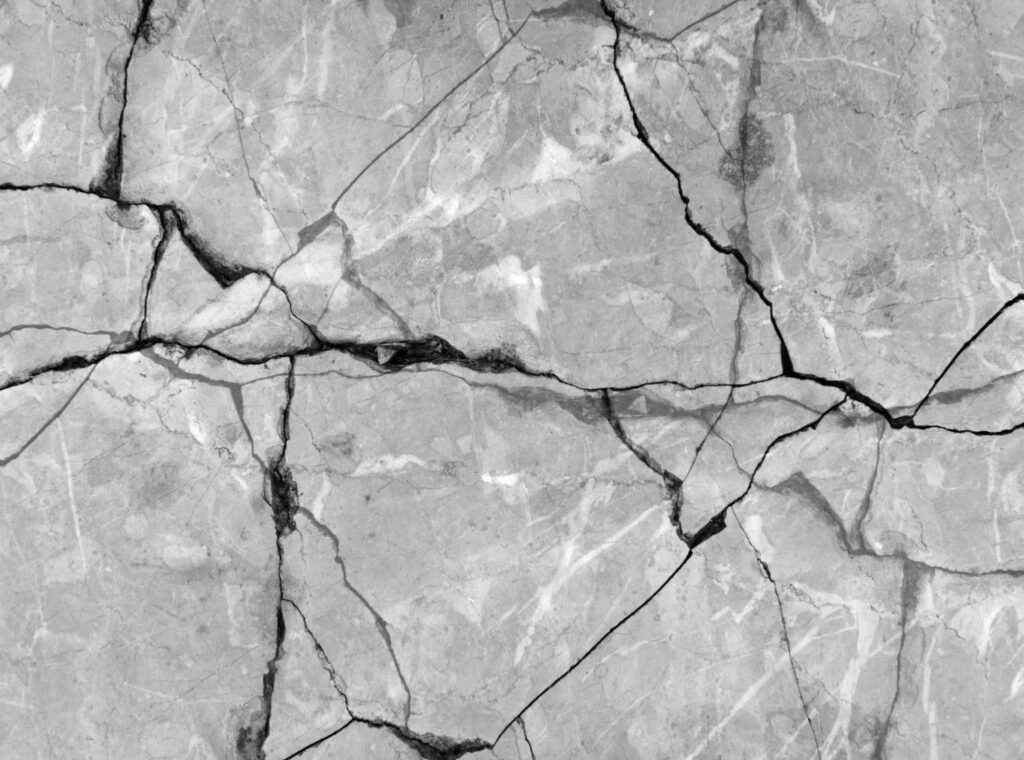
Even small cracks can allow water to seep in, freeze, and expand, causing further damage. Loose slabs can also create trip hazards and let weeds take root underneath. Address issues quickly by re-bedding slabs on fresh mortar or using appropriate crack fillers.
Minster Tip: Keep a small bag of repair mortar or joint compound on hand; fixing minor damage right away stops it from becoming a much bigger, more costly job.

Joints play an important function by linking the concrete or stones together and providing structure. Cleaning the joints can be tricky, as this is the most vulnerable area of your garden pavement; they can wash away, leaving gaps that allow weeds to grow and slabs to loosen. However, repointing your patio with fresh mortar or re-sanding joints restores stability and improves drainage.
Minster Tip: For block paving, use polymeric jointing sand such as ProJoint Polysweep, as this hardens slightly after installation, helping resist weed growth and joint erosion.

Sealing your paving helps protect it against staining, algae growth, frost damage, and water penetration. The best type of sealer depends on the material – for example, you should use an impregnating natural stone sealant for porous stone. Reapply as often as the manufacturer recommends, which will be around every 2 years in the majority of cases. Note that just because your paving has been sealed, it doesn’t mean you won’t need to clean it anymore!
Minster Tip: Always clean and fully dry paving before sealing – sealing in dirt or moisture can trap stains or cause cloudiness.
Plan regular paving upkeep throughout the year: sweep regularly, deep clean in spring and autumn, check joints and re-sand or repoint as needed, and apply weed treatments in early summer. A simple checklist ensures you never fall behind on regular maintenance tasks, yet so many people neglect this simple task.
Minster Tip: Keep a laminated copy of your checklist in the shed or garage; it’s a quick reminder of the seasonal tasks that will protect your paving investment year-round!
Maintaining your paving is a year-round job, with each season needing different tasks to be completed. However, don’t let this worry you – many of the following jobs are very quick and simple!
Although every type of paving requires at least some form of maintenance, our range at Minster Paving is designed to be both durable and easy to look after. From stunning slate to luscious limestone, we’ve got something to suit every garden design.
Explore our range of paving slabs today to start building your perfect outdoor space, or get in touch with our Oxfordshire-based team if you have any questions about your next garden project!
Yes – there’s no “one-size fits all” approach to patio maintenance. Therefore, you should always choose products and techniques that match the paving material, such as:
Typically, porcelain paving or dense granite slabs are the easiest to look after. They resist staining, rarely absorb water, and usually only need a light sweep with the occasional spot-cleaning.
Manufactured/concrete paving, like our Minster Flagstone range, is also relatively straightforward to care for. However, it will need regular joint care to ensure that it doesn’t shift.
This depends on the type of material and sealant, but a general rule of thumb is to reseal your paving every 2 years. Always check the sealer manufacturer’s guidance and test on a small area first.
Yes, we recommend you seal block paving as it helps reduce staining, slows joint erosion, and enhances colour. Make sure joints are stable and the surface is thoroughly cleaned and dry before applying a suitable sealer. Note that some sealers affect surface sheen/colour and slip resistance, so it is important to test first.
Sweep weekly to remove grit and leaves, and do a deeper clean (power-wash or hand-scrub as appropriate) at least once a year. However, in shaded or damp areas prone to algae/moss, you should consider cleaning more often.
Address these quickly: lift the affected slab(s), clear and level the base, re-bed on fresh mortar or compacted sub-base (use sand/polymeric sand for blocks), then replace and ensure the correct slope for drainage. Small cracks can sometimes be filled with a compatible flexible filler; large or structural damage may need slab replacement.
Not always. Routine sweeping, small repairs, weed removal, and light cleaning are DIY-friendly tasks. Call a professional if you need major re-levelling, full re-laying, drainage repairs, complex joint repointing, or if you’re unsure how to clean or seal a delicate material safely. Professionals also save time and reduce the risk of accidental damage to specialist paving stones.
Cutting paving slabs is a straightforward job when you have the right tools and know what you’re doing. By following this comprehensive guide by Minster

How Much Fall Should a Patio Have? This is the question that many people ask when they begin to build their first patio. We’ve created


