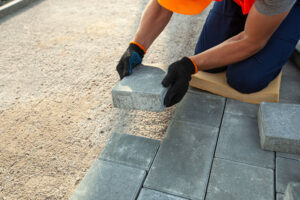
How to Cut Paving Slabs
Cutting paving slabs is a straightforward job when you have the right tools and know what you’re doing. By following this comprehensive guide by Minster


Garden steps are a common feature in many gardens, especially those that have steep lawns or different levels. Whilst they are great for both accessibility and aesthetics, many DIY-ers may avoid installing their own steps for fear that the process will be challenging. However, this is far from the truth!
This guide will explore how to make a set of garden steps with ease, assess the best materials to use, and investigate the top maintenance tips to help your project stand the test of time. If you’ve got any questions, our outdoor experts at Minster Paving are here to help.

There are many benefits to installing steps in your garden, such as:
There are many different types of materials which you could use to craft your garden steps, all of which suit different garden aesthetics and layouts:

Composite Decking: Offers durability and low maintenance, making it resistant to weathering and fading. Looks just like real timber, but without the maintenance needs!
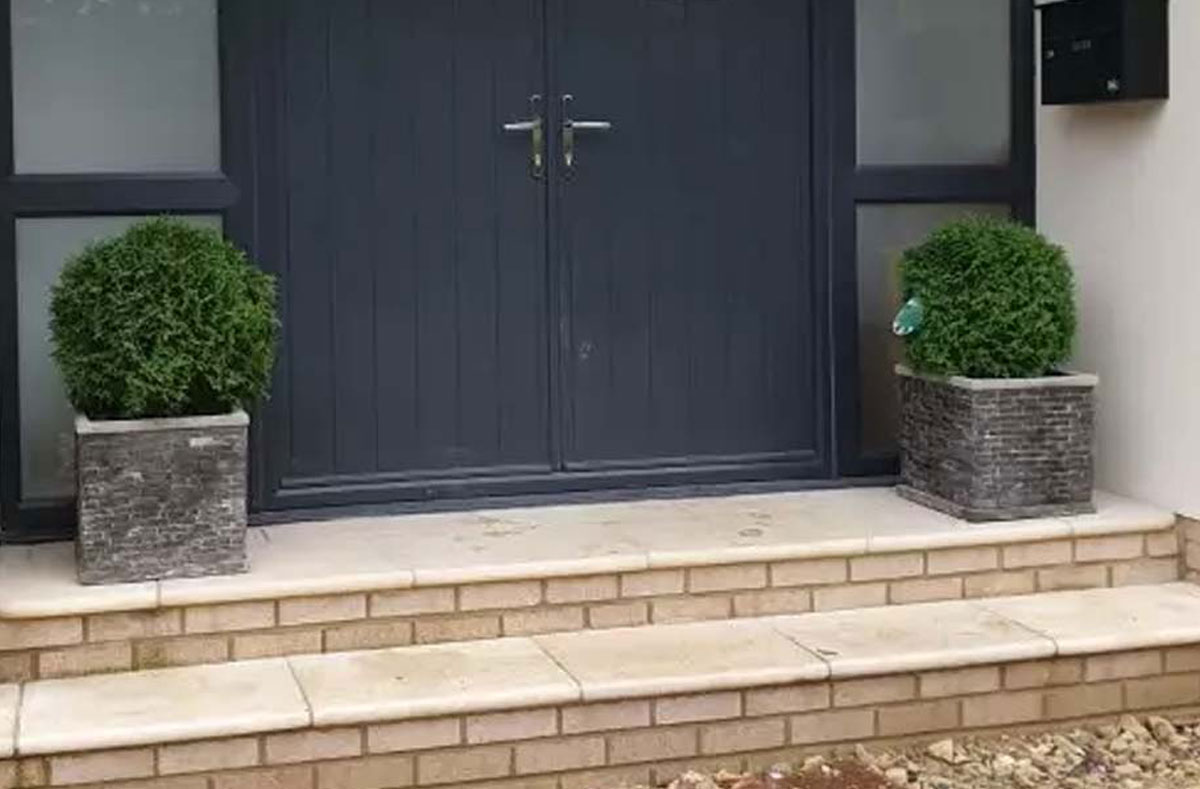
Manufactured Paving: Combines durability, versatility, and aesthetic appeal for many different uses. Regardless of your budget or design, manufactured paving suits it all.

Block Paving: Features versatility and a strong, interlocking design that ensures stability and ease of installation. A strong choice for traditional-styled gardens.

Granite Paving: Delivers an elegant, natural stone finish combined with exceptional strength and longevity. A firm favourite for contemporary gardens.

Limestone Paving: Adds a distinct, luxurious look to your garden while offering durability during the colder and wetter months of the year.
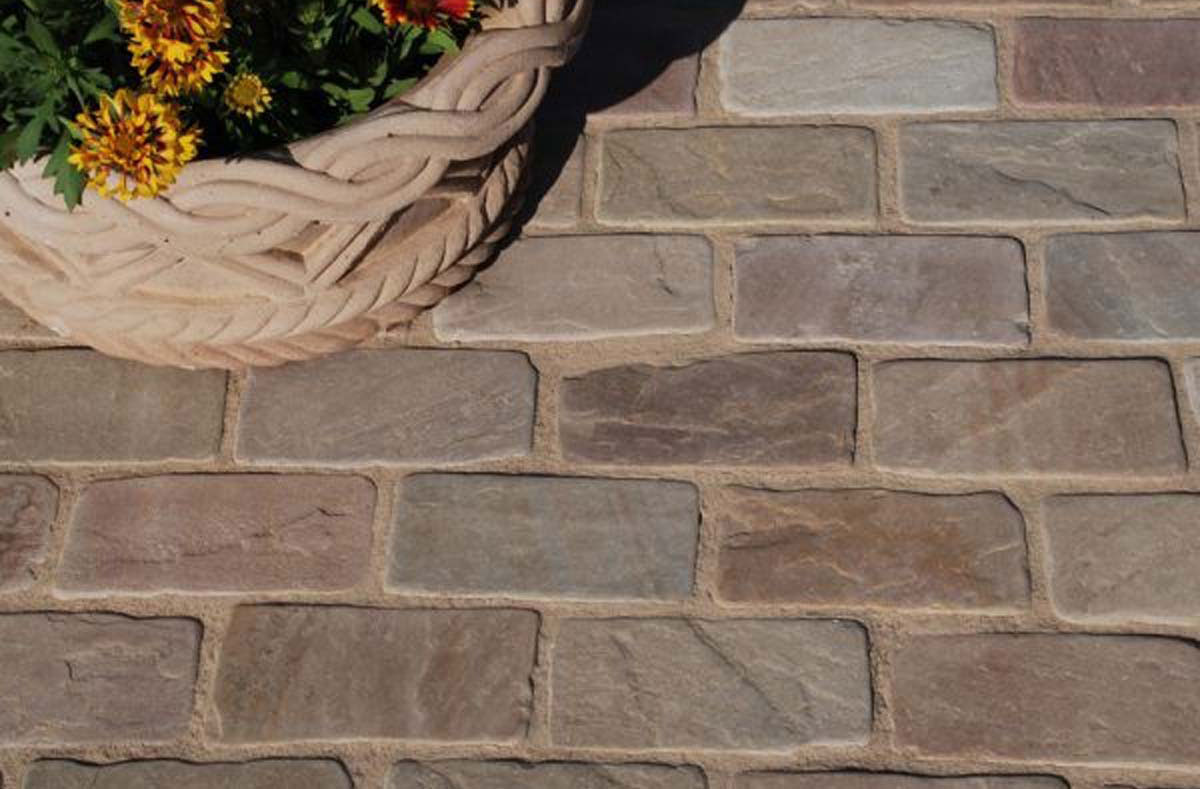
Sandstone Paving: Brings a warm, natural aesthetic with robust performance, ideal for all different outdoor settings; garden steps, pathways, patios, and more.
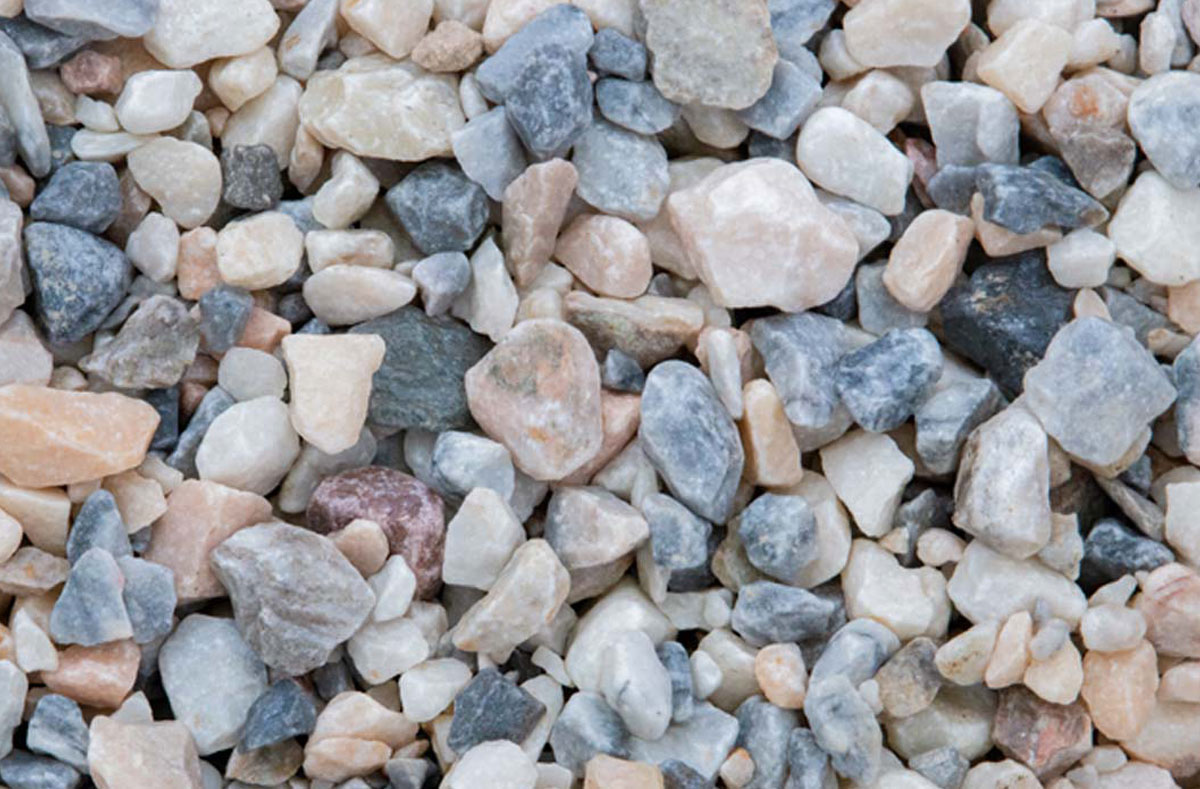
Decorative Aggregates: Contributes to your landscape’s visual interest, giving your garden steps an artistic touch. Easy to complement using surrounding plants.
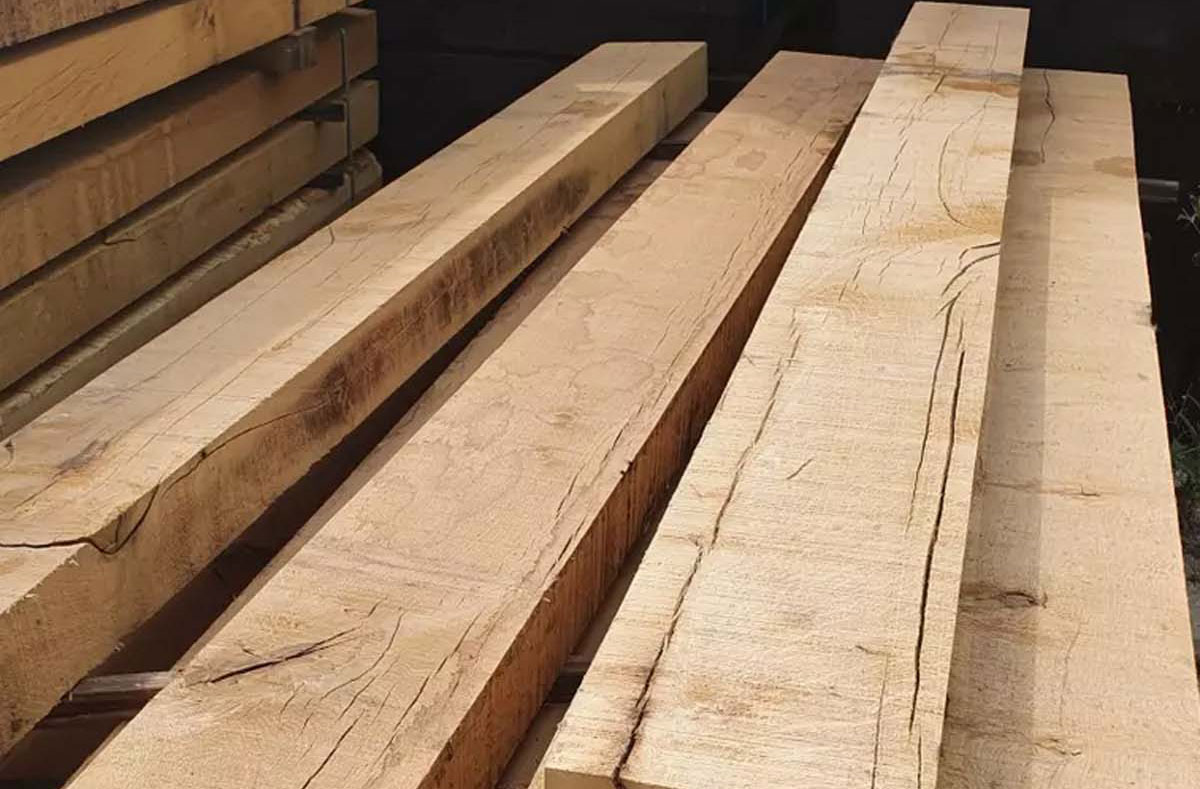
Wooden Sleepers: One of the most common materials for a set of garden steps, sleepers blend seamlessly into your landscape and infuse a rustic charm.
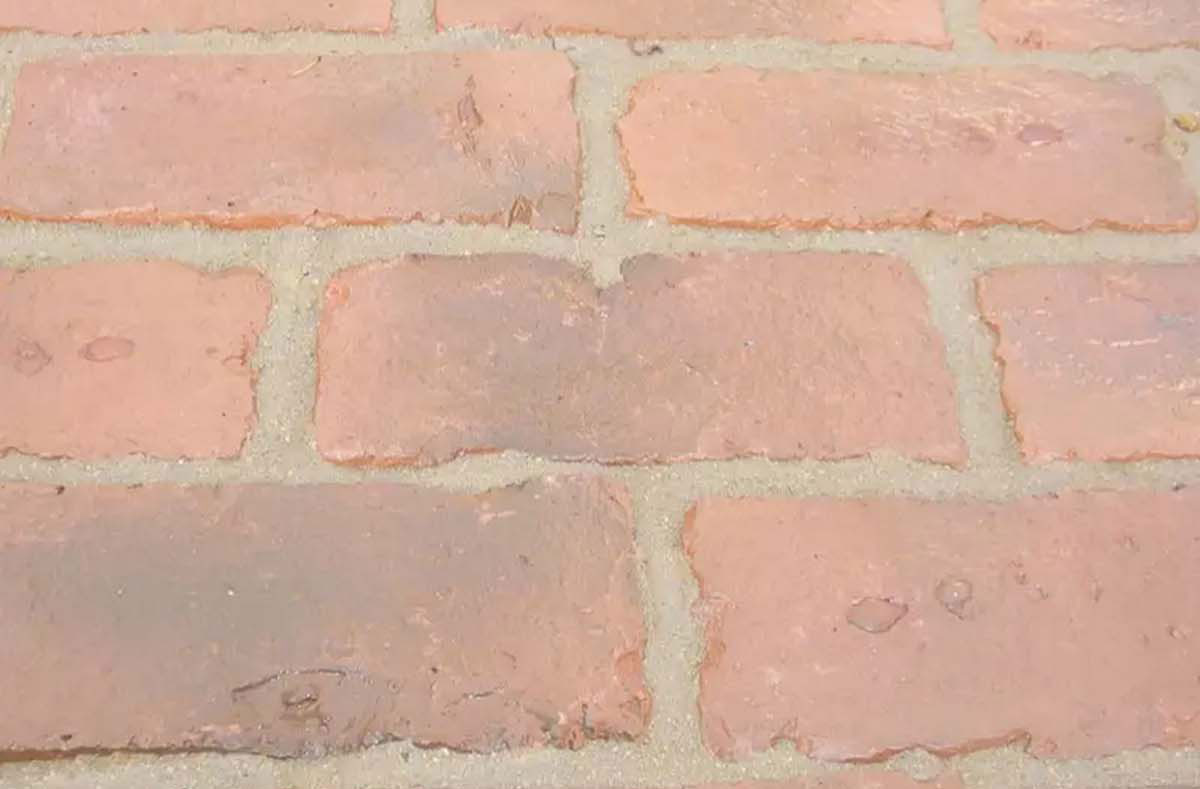
Reclaimed Bricks: A more sustainable option which adds character to your garden. Different patterns and colours can be combined to create a style which suits you best.
Explore our simple step-by-step (pardon the pun) guide on how to create beautiful and functional garden steps:
When determining how many steps you’ll need, it’s important to measure two things: the depth (tread) and the rise (height).
To calculate the number of steps, the process is simple; you divide the total vertical height by the rise (the height of each step). The formula is:
Number of Steps = Total Height ÷ Rise

For example, suppose your garden has a vertical height difference of 1.2 meters (or 1200 mm) and you choose a comfortable step rise of 200 mm. Dividing 1200 mm by 200 mm gives:
Number of Steps = 1200 ÷ 200 = 6 steps
Since the calculation results in a whole number, you would need exactly 6 steps. If the result were a fraction, you would round up to ensure each step is safe and comfortable.
When planning your steps, it’s not just the vertical rise you need to consider – the overall horizontal distance, or “span”, is also crucial. To begin, determine both the total number of steps and the individual tread (step depth). The formula to calculate the total span is:
Total Span = Number of Steps × Step Depth
For instance, imagine you’ve determined that your staircase requires 6 steps and each tread measures 400 mm. Using the formula, the total horizontal distance would be:
Total Span = 6 steps × 400 mm = 2400 mm (or 2.4 m)
Once you have your measurements, mark the area using marking paint, string, or stakes to outline where each step will be positioned. Clear the marked area by removing any vegetation, debris, or loose soil to create a clean workspace.
After clearing the area, excavate the marked site to the required depth until you reach firm soil. Lay the foundation by spreading a layer of compacted hardcore or gravel – typically 50 to 100mm thick – to provide a stable and durable base for the steps. Ensure the surface is level and properly graded for drainage by using a spirit level or straightedge, and compact the base.
Begin the installation by positioning the first step on your prepared base, making sure it is perfectly level and anchored to the base. For each subsequent step, add layers of mortar or use interlocking materials, depending on your choice, to secure the steps firmly together.
It is essential to check that each step is aligned with the others and that the surface remains flat as you build, adjusting as necessary before the mortar fully sets.
If your garden steps lead to a change in direction or if you need a resting area, construct a landing by creating a wider, flat platform at the top or between sections of steps. For added safety – especially on longer or steeper flights – install railings by securely fixing posts into the steps or landing, and attaching the balustrades and handrails.
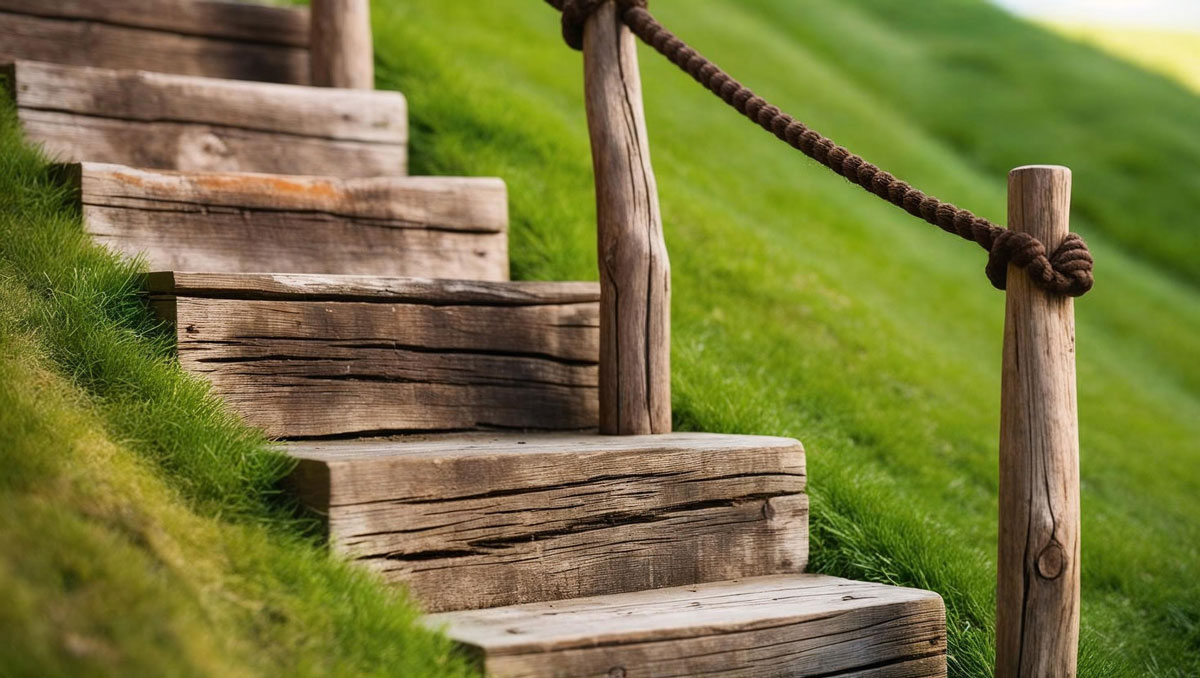
Once the main structure is complete, apply edging around the steps to conceal mortar joints and form a neater appearance. Clean up by removing any excess mess, and give the steps a final clean.
Finally, consider adding landscaping features such as lighting, plants, or decorative stonework, and consider sealing wood or treating stone for added weather resistance (if necessary).

Once your steps have been installed, you’ll want them to stay secure and protected from the unpredictable English weather! Fortunately, there are several things which you can do to help your steps stand the test of time:
Providing they have been well-installed and receive the appropriate maintenance, stone or concrete steps can last for decades, while wooden steps may need to be replaced after 15 – 30 years.
The best way to blend your steps into the rest of your garden is to choose a material that matches the surrounding colour and theme. For example, a traditional-looking garden may benefit from steps made from reclaimed bricks, whereas a modern new-build would suit something a little more sleek, like granite.
Incorporating surrounding plants and decorative aggregates into your garden steps is another successful method, especially if the colours match! From flamingo pebbles to plum slate, we stock it all at Minster Paving – there’s a decorative aggregate to suit every garden.
The project timeframe will depend on the type of material, the size of the steps, and your level of experience. The average DIY-er should be able to complete a set of 5 steps within 3 to 5 days, from start to finish – but every project is different, and circumstances such as poor weather could hold you up.
Generally speaking, small garden steps don’t require planning permission. However, to be sure, it’s wise to contact your local planning authority (LPA) – this can be done through your local council.
At Minster Paving, we stock a large range of quality materials that are perfect for year-round garden steps, from oak sleepers to composite decking! If you have any questions about our products or need further advice about what’s best for your DIY garden steps, please don’t hesitate to get in touch with our friendly team.
Cutting paving slabs is a straightforward job when you have the right tools and know what you’re doing. By following this comprehensive guide by Minster

How Much Fall Should a Patio Have? This is the question that many people ask when they begin to build their first patio. We’ve created


