How to Cut Paving Slabs
Cutting paving slabs is a straightforward job when you have the right tools and know what you’re doing. By following this comprehensive guide by Minster


Your garden is a valuable extension of the home; a place to dine, entertain, or simply unwind. However, because they’re meant to be used and enjoyed, they need to perform as well as they look. This makes the idea of laying paving straight onto soil appealing, it’s quicker and seems ‘good enough’.
The problem is, without a properly excavated, levelled, and compacted base, slabs will rock, crack, let weeds through the joints, and quickly turn a lovely spot into a problem area.
This article explains why a solid base matters and shows you how to get it right: the core steps for preparation, the materials and tools you’ll need, common mistakes to avoid, and when to call a professional – so your patio stays flat, stable, and usable for many years to come.
Before you get started on the job at hand, make sure you’ve got each of the following items:
Like with any garden project, safety is paramount. A few simple precautions will keep you working comfortably and avoid injury; here’s what to keep in mind:
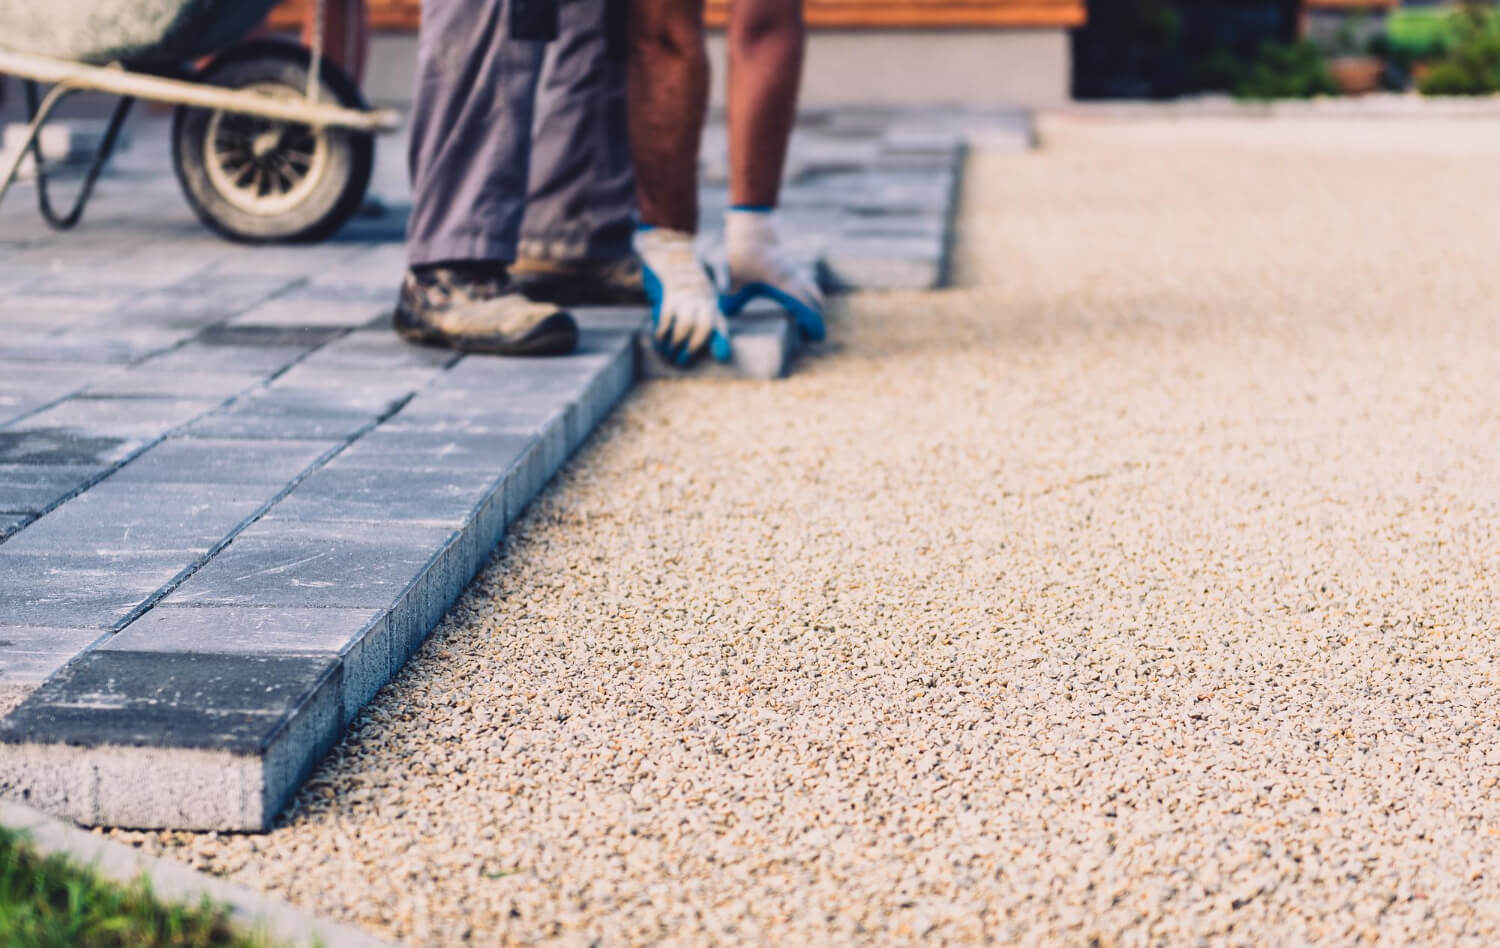
Follow these expert steps to lay your next patio or garden path with confidence:

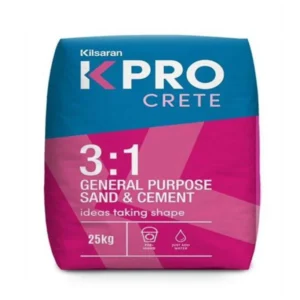
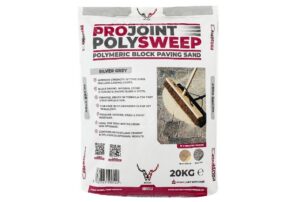
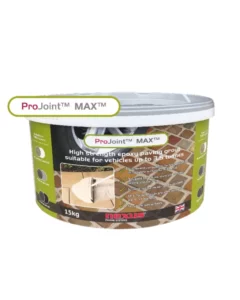
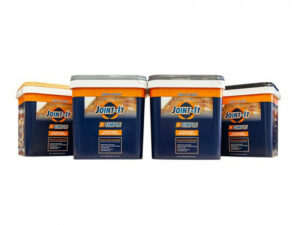
Here are some of the most common mistakes people make when laying garden slabs, as well as the simple fixes to help you avoid them and achieve a long-lasting finish:
Uneven or inconsistent joints look messy, allow uneven movement, and can trap moisture.
To overcome this, use consistent spacers (window packers or purpose-made spacers) as you lay each slab. Aim for the manufacturer’s recommended width (commonly 5-15mm depending on the product) and check regularly with a straight edge.
Running out of materials or poorly planned pattern alignment causes delays and can add extra costs to the project.
However, there’s an easy solution: draw up a simple plan, calculate materials + 5-10% wastage, mark out levels and fall, and locate any underground services before digging. Dry-lay a small area to confirm the pattern and cutting needs.
Without a solid edge, paving can creep or spread under load, ruining alignment and joints.
Therefore, install firm paving edging (concrete kerb or paving edge units) set to the final level before you bed the slabs. Support with concrete where needed to lock the edge in place.
Flat or inward-falling patios hold water, causing puddles, algae, and increased freeze/thaw damage.
To overcome this, set the fall away from the building minimum of 1:80 longitudinally (steeper cross-falls where needed) and check it with a spirit level and string lines before bedding.
Thin, soft, or organic bases settle and shift, causing your slabs to rock or crack.
Therefore, you should use a well-graded granular sub-base (MOT Type 1 or equivalent), build in layers (e.g. 75-100mm total compacted), remove organic material, and compact thoroughly between each layer.
Uncompacted base or bedding allows movement under traffic and freezing, causing uneven slabs and joint failure.
An easy fix is to compact the sub-base with a plate compactor in layers, check for soft spots, and recompact. After bedding, you should tamp slabs gently with a rubber mallet or use a plate compactor with a protection mat for larger areas.
At Minster Paving, we stock a huge range of paving slabs for any outdoor purposes – from pathways to patios, driveways to swimming pool surrounds. With many different styles and colours available, we’ll have the answers to your dream garden design.
If you’d like to take a small cut sample home, please visit our Standlake-based premises, where we have many of our beautiful ranges on display. Alternatively, if you have any questions, simply get in touch with us and we’ll be happy to help.
To calculate the m² of your paving project, measure the area in metres, then multiply the width by the length to get square metres. For example, a rectangle 4 m wide × 5 m long = 20 m².
If your space isn’t a simple rectangle, split it into rectangles, triangles or circles, calculate each area and add them together.
Work out the patio area first (length × width) to get square metres (m²). Then add a waste allowance – typically 10% – to cover cuts, breakages, and any awkward corners.
The typical formula is: required material = area x 1.10
For example, if your patio is 20m², allow for waste (20 x 1.10 = 22m²). Round up to the nearest full slab or order a little extra if you’re matching batch colours or planning future repairs.
Allow the bedding mortar to set for at least 24 hours before jointing in normal warm, dry conditions. That gives the mortar time to harden so the joints won’t be disturbed when you work on them. If it’s cool, damp, or wet, wait 48 hours or longer..
If you’re using modern resin or polymer jointing compounds, follow the manufacturer’s instructions. Many can be applied sooner than traditional mortar, but they still require the bedding to be firm and the surface essentially dry.
This depends on size, complexity, and who’s doing the work:
Use a well-graded granular sub-base (MOT Type 1 or equivalent) and compact it in layers. For example:
Always remove topsoil and organic material before placing the sub-base. If in doubt, deeper and better-compacted is safer, as it reduces settlement and frost-related movement.
You should set a gentle fall to carry water away from buildings – a minimum slope of 1:40 is recommended. However, in areas with heavy rainfall (the majority of the UK, unfortunately), a slope of 1:60 to 1:100 is likely more suitable, just to be sure.
Always direct water to a suitable drainage point (lawn, soakaway, channel drain, or gully), not toward neighbouring properties.
Yes, many competent DIYers can lay a small, straightforward patio with the right tools and enough time. However, you may be best off hiring a professional if you have:
Preventing weeds is mainly about good construction and sensible maintenance.
Cutting paving slabs is a straightforward job when you have the right tools and know what you’re doing. By following this comprehensive guide by Minster

How Much Fall Should a Patio Have? This is the question that many people ask when they begin to build their first patio. We’ve created


